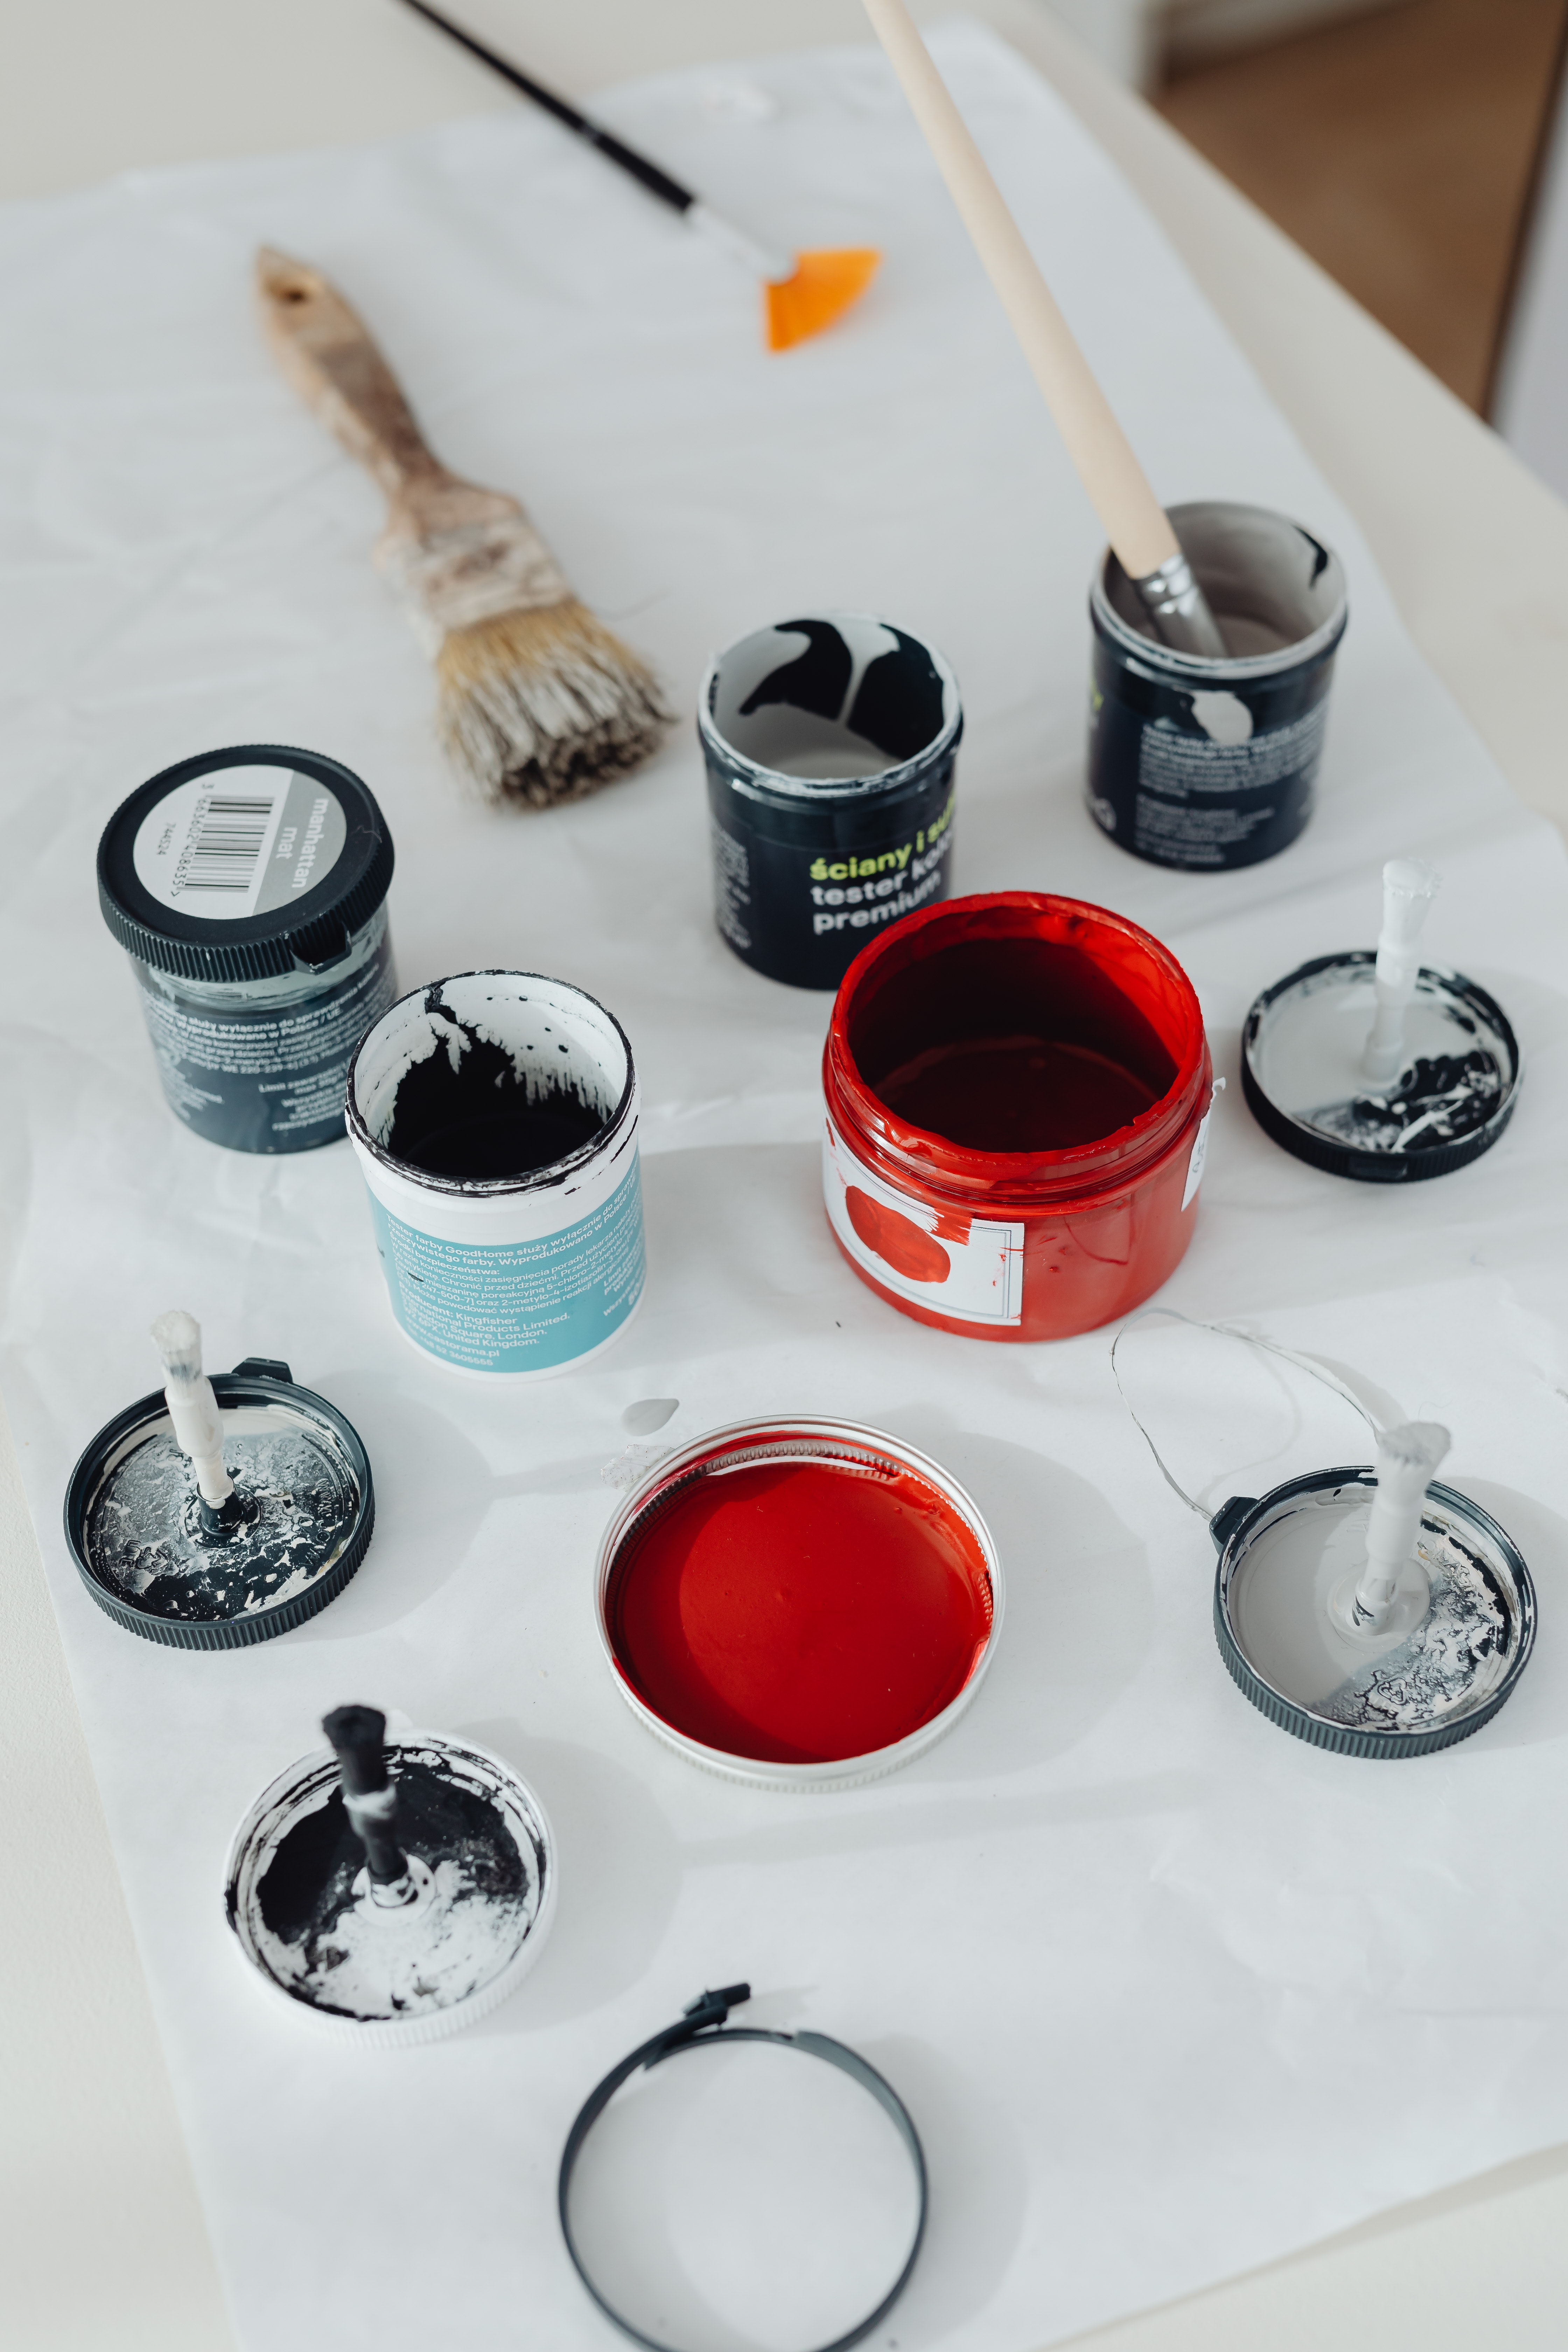
Can you bake acrylic paint in the oven
Acrylic paint is a versatile painting option that can give a similar look to a variety of projects in different materials. It can be used safely on fabric, ceramic, glass, and more. if you are curious to know weather you can bake acrylic paint in the oven or not then its the best place you have come as here we explain it all in easy language right below.
Acrylic paint is also fast drying and fast curing paint, making the production process seamless and time-effective.
However, a common question that often troubled beginner crafts persons is how to make acrylic paint stay.
Moreover, as a creator, you might want to eradicate dried acrylics’ characteristic feel and bring out the original feel of the fabric or glass surface.
What does baking do to acrylic paint?
Baking acrylic paint is an inexpensive and safe procedure to seal and protect the coloring on the painted item.
This is done from the very moment that the painting is finished, that is to say from an hour from after when the paint was completely wet.
This method of drawing gives a nice glossy finish to the surface of the object and the paint doesn’t dull quickly. The result is often known as the baked finish.
A baked finish is the outcome of baking paint on ceramic and glass surfaces at a temperature over 150 degrees Fahrenheit.
The baking procedure for drying paint further reduces the curing time of acrylic paint which happens to be quite low even in normal room temperature conditions.
The production quality of the paint is enriched with more details and the smoother finish is observable on the object when the painting includes layered coating and intense shades.

However, it is important to know that baking acrylic paint alone does not make the items food safe.
Making acrylic paint food safe is a different procedure that will be talked about another time.
On what surfaces can acrylic paint be applied and baked?
Acrylic paint has dynamic uses and it can be used on almost every surface under the sun. This includes textile, glass, metal, wood, ceramic, etc. some people also like to use acrylic paint on skin for painting but it has be to done without atmost caution as it may not be good for all.
However, the baking process is not encouraged on textiles. Mostly sealing the paint on textile and wood products is done with the use of special sealants, as baking wooden and textile products is a fire hazard.
Ceramic and glass products as well as metal-based products can be baked in the oven to give them a classic finish.
Besides acrylic paint can be used on any wood surface or metal surface as well.
Baking metal products help cure the paint in half the time and prevents a very thick film on the surface.

Does heat damage acrylic paint?
Naturally, acrylic paints are resistant to a certain amount of heat. This resistance increases as the paint dry.
If the acrylic paint product is exposed to extreme heat within a very short amount of time the coloring and even the surface can get damaged to an irreparable state.
This withstanding ability also depends on the quality of the acrylic paint and its consistency.
The latest acrylic paint is more susceptible to heat damage than other acrylic paints. At high temperatures, the paint fades out leaving the rough brush strokes visible.

It is advised that the paint should be heated starting from 90 degrees Fahrenheit and increase to 150 degrees in the middle of its baking process.
In dry conditions, acrylic paints can easily tolerate up to a similar 300 degrees Fahrenheit melt up to this temperature.
How does one bake acrylic paint in the oven?
Baking acrylic paint can be a daunting task for the beginner because there certainly are strict guidelines of steps that must be remembered while carrying out the process.
However, the steps are simple and it only takes a bit of concentration and attention to detail to get them right.
There are some key differences in the process of baking a ceramic item from that of a glass item. The steps for both are discussed here.
Baking as the ceramic acrylic painted item
- In step one, allow the paint of your product to sit for an hour and ensure that it is dry. This means making sure that not only the top but all layers of the product have dried out. This will bring out the best results.
- For ceramic products, the oven should not be preheated at all. This is crucial to maintaining the seamless effect of the painting.
- You should know for certain that this specific ceramic material that you are about probate is oven-safe itself and will not crack under the heat and pressure that is created within the oven atmosphere. Moreover, the ceramic material itself must be nontoxic.
Things to remember during the baking process
- It all depends on the paint. Some paints are safe for oven baking and others are not. Make sure your paint will not release toxic chemicals when placed inside the oven and baked.
- Using water-based acrylic paint on products that you are about to bake is a much better idea as this will render your oven easily usable and the product will have more food-safe viability as well.
- The oven should be preheated for glass products just a little and the heat should be increased gradually. A sudden increase in heat can cause your pain to get damaged or even the ceramic or glass product itself to get cracked or brittle.
- Different materials do have different baking times. Glass takes about 30 minutes to bake. Ceramic and metal may take up to 35 minutes. Thorough research on the timing required to bake acrylic paint should be undertaken before the process is commenced. Small items only take up to 20 to 25 minutes to completely bake and dry.
- Make sure to prime the surface before beginning the acrylic painting process as this will enhance the finished output.
- To be safe on the face of the curing time do not apply water or any other liquid to the surface of the acrylic-painted item for 72 hours after the baking process is completed. if you are curious to know weather acrylic paint can be used in your face for painting then checkout our post here for its usage on your face.
Baking acrylic paint on a glass item
- There are a few detail-oriented differences between painting glass and ceramic. These include first letting the glass dry for 24 hours instead of 1.
- A full coating of glass might require several layers as the glass is an extremely clear material. For the best baking results, each layer must be added on top of the previous one only after the first has dried completely.
- Though, similar to ceramic glass acrylic painted objects also need a 72-hour curing time.
- In the glassmaking process, the most important aspect to remember is that your glass item needs to cool down completely from the baking process even before you aim to touch it. The cooling must happen just as gradually at room temperature as the heating process had been undertaken, which means using air conditioning or refrigeration for cooling is not the best idea.
What are some safety tips that I should remember while baking acrylic paint?
When within the use of children it should be made sure that baked acrylic goods are not anywhere near the vicinity of their mouth.
When the painting itself is done by children during various activities and projects the baking should be handled by adders or with parental supervision for older children.
Once your oven has been used for baking acrylic products it should not be used for cooking unless and until it is completely clean and the clans from the toxicity resulting from the baking process.

Cleaning the oven should be started by letting the oven set open and the chemical fumes escape after which a proper cleaning should be done of the oven just as one usually does routinely.
Additional steps in the sealing process that you can take after baking acrylic paint
After creating the print and undergoing the baking process, you can further increase the longevity and the professionality of your finished item by following a few additional steps.
You can add a layer of water-based polyurethane varnish on the top of your acrylic.
Water-based varnish is blind seamlessly onto the surface of your object but must be applied only after the paint is completely dry and settled, and also after the product itself has cooled down from the baking process.
Applying to warn is a repeated process as thin layers must be coated continuously until you achieve a complete field state on your item.
The finished products can be used in the oven as daily items but for that, they need to be made food safe. For this, you can use a food-safe sealant.
FAQS
Is it possible to overbake your acrylic-painted product?
Yes, it is possible to overbake a product painted in acrylic paint. Over baking, a product results in feeding the painting and damage in its finishing. In some cases, it can damage the surface of the item itself.
What kind of varnishing should I purchase for my acrylic paint product?
Acrylic painted products go well with several varnishes like Modpodge, Plastic-Kote, Clear gloss spray varnish, etc.
Is it safe to put acrylic paint items in the dishwasher?
While baking and varnishing are certain processes through which acrylic paint is made stronger and more durable, most acrylic painted items are not invincible to being washed the way in the dishwasher. Hence dishwashing painted products are not encouraged.

Being associated with art and craft field since decades as a hobbyist and life long learner has given me an opportunity to learn many new things related to art, craft, paints and pottery which i am trying to share with your guys on this website. I have expertise of being professional painter and potter for the last 20+ years
I have learned mind blowing cool tips and insights which makes me a person with ability to improvise and come up with creative ideas and solutions to make stunning and impeccable art pieces of all types which are adored by people across the globe on this website and other platform.


