Do you paint the ceiling first or the walls?
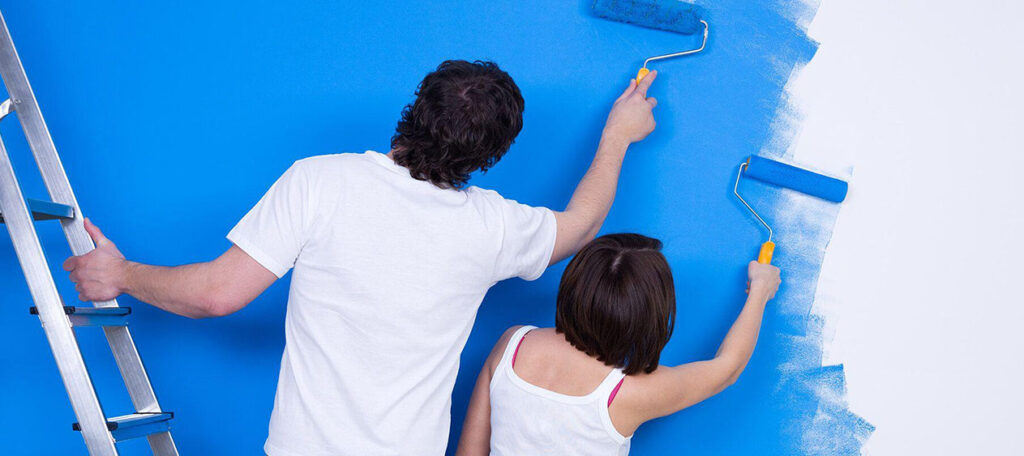
Re-painting one’s rooms is a project that everyone has thought of taking up at one time or the other. The success of a good painting experience lies in the painter’s attention to detail. It is more important than during any other paint job for the creator to make use of the right tools and techniques to give the result a good quality finish.
Specific steps followed religiously, and accepting the scientific mechanism behind simple questions like “should you paint the ceiling first or the walls?” can take the painter a long way.
On top of that, the person undertaking this job should also be aware of the required time and patients that you must give to your paint for drying and settling.
Should you paint the ceiling first or the walls? How much time should you give for the former to dry out? Does it really make a difference in which one you do first? This article will answer all your questions and more, right here and right now.
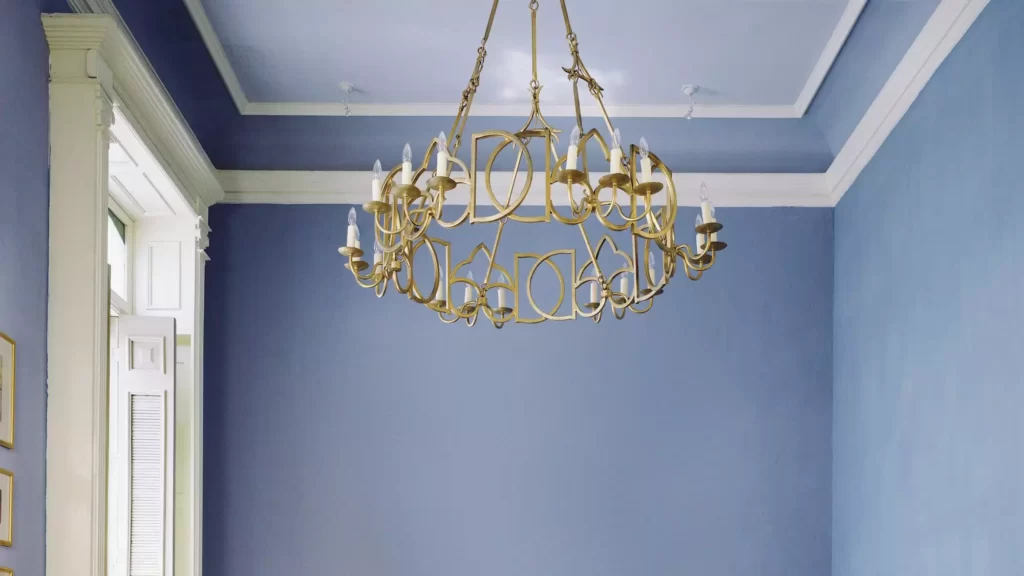
Should you paint the ceiling first?
The short answer to the question is yes. It is a great idea to start with the ceiling first. In fact, in whichever painting process, it is the best idea to start with the lightest color and the top corner of the surface.
Not only should you start by painting the ceiling, but you should also start by prepping the ceiling first as well. It should be attempted to complete the ceiling painting, both painting roller and brush in one sitting. Painting the ceiling is also relatively harder than any other part of the room. You might have to ask your friends and family for help in this part.
Painting the ceiling can also take the longest amount of time. Ideally, the ceiling paint should be smooth and seamless to maintain symmetry in the shape of the room and the reflection of sunlight. Ceiling painting is also the most likely to require some fixing after it has dried out. The painter should tend to the fixing and let the fixing also achieve its result before the painter starts with the walls.

The main reason why painters always suggest the painting of a ceiling first is to prevent pain from dripping down on finished walls. There is a great chance, and it often happens that paint drips or runs down from the ceiling onto the adjacent walls. If you let this happen before your ceiling paint has dried, you can then simply paint over these fresh stains with the darker paint for your walls and trim.
Moreover, your ceiling, your walls, your windows and door frames, and your trim will all require different kinds of paint. The paint used for ceilings also requires you to paint it first. We will talk about this in a later segment.
Why should you consider an amateur room painting experience?
Painting a room as an amateur might start to seem too hard and complex a process. You might be wondering at this point whether or not you should leave it to a professional. Undertaking a paint job on your own as an amateur, however, has its own perks. There are several reasons why you should consider painting your room on your own.
Cuts down on the cost
This is the first and primary reason most people go for a DIY home painting project. Professional painters charge a hefty service fee, which is completely removed if you are painting your room yourself. This service fee can cost you anywhere from around $200 to $1000 on average.
The service fee is exempt from the money you are paying for the paint and other tools. For most young homeowners and students this is too much money to be able to afford. In such a case painting your room yourself does not seem that bad of an idea.
An experience of a lifetime
Painting your room yourself can be great fun. Oftentimes at some step of the process, your family and friends will want to help, in which case this will turn into a fun and light-hearted group project. Even on your own, this is an experience that you will never forget, and the hard work will pay off every time you look at your beautifully painted room. You can even vlog or journal it to make it an even stronger and more memorable process.
You will certainly make some huge mistakes as a part of what you are doing, but believe us you will be able to correct them and keep them as anecdotes to laugh about later.
Gives you great creative freedom
Painting your room is all about great creative freedom. Lacking as we are in painting knowledge when it comes to rooms, we will have a greater say every step of the way, and will be able to take experimental steps that might make our professional painter knit their eyebrows.
One thing to remember is that it is always better to be safe than sorry, and conducting proper research on the consequences of our choices is important before going through with them. At the same time when you are painting your room, it is possible to go on with line art, amateur murals, geometric wall patterns, etc upgrade the look and feel of your room to simply something else.
A wonderful way to wind down after a stressful work project
Painting your room can be a winding down the project if you are someone who is always cut up with stressful responsibilities in your work and personal life. This is a time you spend with yourself and your family without having to worry about other responsibilities which might be eating at you.
This time will allow you to think about your life choices and decide on the next course of action. Painting your room can be just as therapeutic as a weekend trip or calling a long-lost best friend. Yes, in fact, you can call up your long-lost best friend and ask them to come over and take part in this painting project along with you!
An extremely rewarding experience
Any project is extremely rewarding when the results are positive and right in front of us. Our painting project is going to be both. You will feel super proud of yourself every time you look around your room and see what you are capable of. It is a rewarding process so to speak, as the entire interior of your completed room is going to be a result of a culmination of enumerable your thought-out choices.
Painting your room is all about making your room a safe place, a place where you can unwind, relax and introspect. Being able to do that can make you feel more productive and in control of your life than ever before.
A physical challenge
This can both be a pro and a con depending on how you view physical challenges. Physical challenges scare us, while for others they are an interesting opportunity. If you have been thinking about going on a trek or joining a Zumba class, and you really feel energetic or replenished at the very thought, then painting your room is a physical challenge you would want to accept.
Painting the room indeed takes physical dedication, some amount of sacrifice, and some instances of great fatigue.
You get to use premium quality materials
When you are working with a professional, it is easier to get influenced by what they are saying. At that point, the quality of the paint job depends entirely on the sincerity of your professional. Your professional pain there, if they want, can use premium products, but if they don’t, can go for the simple and moderate class quality.
Painting your room yourself gives you the autonomy to choose what you know is right for your room. With the amount that you save on a service charge you now also have the budget to pay for these materials as well.
Tools and materials you will need
There are several tools and materials that you will need other than good quality paint in order to complete your pay job. These include the following
- Drop cloth or plastic sheets
- A painter’s tape
- Paintbrush
- Paint roller
- Roller extension
- Good quality paint, one gallon for every 400 square feet
- Step stool
- Paint stirrer
- Paint tray
- Good quality primer, one gallon for every 400 square feet
- Sandpaper for repairs
- Rags
- Plaster
- Putty knife
- Sponge
- Ceiling stain Sealer
These items might seem like a lot but they all have their special place in a perfect paint job. You might also need screwdrivers depending on how much hardware is attached to the ceiling and walls you might need to remove and rebuild before and after the painting process.
After that, you will need plastic sheets to cover your entire furniture if you are not removing them from the room. Then, you must come to cover the entire floor with a drop cloth to save your flooring from the painting’s misery. You can use drop clothes instead of plastic sheets to cover your furniture as well.
In the following section, we will be talking in detail about how to use these tools correctly. Keep reading to get an understanding of what a good painting process looks like.

A step-by-step guide to painting the room
Not only are there certain necessary steps for a good painting of your room, but there are also tips and tricks about the best painting techniques which you can make use of.
Prepare the room
The first step is to prepare your room properly. This is a long and taxing task but can prove to be exciting as the first preparatory step. In this step, You first need to cover all your furniture and the floor with drop cloth or plastic sheets. Then you will be separating the walls from the trim as well as the ceiling with a painter’s masking tape. You will also be using a good quality plaster to even out any dents or holes you might have on your walls.
If possible it is always better to remove the furniture altogether. If you want you can go forward with an extra step and actually use a sponge to clean off your walls. Alternatively, you can send away the top surface of your older paint job to reveal a better and more even texture.
Repairing the ceiling or drywall
These are conditional repairing steps that depend on the condition of your room. You can use a drywall repairing compound and drywall tape along with a putty knife to repair dents and cracks on your drywall. If you have stains on the ceiling which are easy to see, you can use a ceiling stain sealer to correct that.
This sealer will help guide the paint smoothly on areas that have stains and help the primer do its job better. Make sure all woodwork and frames along with flooring are completed in your room and nothing needs to be done before you start with the priming process. At this step, all other repairs in your room should be first completed.
Prime the walls
This is a pretty self-explanatory step. It is now finally time to prime your walls. Priming is not a mandatory step when it comes to painting walls. However, priming will enable walls and ceilings to hold the paint better for a long time to come without it fading or chipping away. You do not need to give your priming as smooth finishing as you would strive for during the actual painting.
Some wall paints actually come with a primer mixed into them. In such cases, or cases, where you are going from light to darker shades, adding a primer, is not important. However, if you are going from darker to a lighter shade, your primer will help your color settle in and glow.
Start painting the ceiling
The painting should definitely be started at the ceiling, and this was a question we asked at the very beginning. Cutting using a brush is the first step in painting the ceiling. You should do the corners and edges of your ceiling using your brush before you go in with your paint roller for those big strokes.
You will be needing a safe step stool for ceiling painting. After that, mix and match the color you like on your paint tree and go in with a paint roller to finish the center. Carefully overlap the sides and make sure all strokes have mixed in together. Try to do both of these things in one sitting.
if you want to know weather you can paint ceiling tiles or not then this post is meant for you for better understanding.
At this point, you can now finally start painting your room. Take time painting your room and feeling it with designs and art that inspire you. If you want to wallpaper, a design, or solid paint. After the painting of your room is done, you should go for two coats ideally, do the trims at the very least if you have any in your room.

What kind of paint should I put on the ceiling?
Ceiling paint is a kind of paint that you can use for your ceiling. It is more viscous and opaque, making it less likely to drip and more efficient at concealing marks and stains. Since ceilings are difficult to paint, ceiling paint also makes sure you don’t have to go in for that second coat.
There are many kinds of latex wall paint, as well as oil wall paint variations for those areas which take in a lot of grime and dust. You can use paint with glitter and sparkles for better results.
For the trims, gloss or semi-gloss trim paint is available in the market which can be bought in small quantities and can also be applied on door and window frames if you want to.

Conclusion
Painting your room yourself becomes a relatively easy task once you know the pros and cons that come with it. Once you are prepared for the harder moments or accidents that this process involves, it becomes all fun and games. Make sure to make a correct assessment of how much you can actually work on this painting job before you take up the task.
FAQ
How much does a DIY interior paint job cost?
A DIY interior paint job can cost 200 to 300 USD on average.
How can you prevent drips while painting the ceiling?
You can prevent dripping while painting the ceiling by using thicker, viscous paint like ceiling paint. You can use extra layers of masking tape and drip cloth to prevent much dripping.
Can craft paper be used to stop dripping?
Yes, a craft paper or a masking tape can be connected along the wall which will act as a shield against dripping.

Being associated with art and craft field since decades as a hobbyist and life long learner has given me an opportunity to learn many new things related to art, craft, paints and pottery which i am trying to share with your guys on this website. I have expertise of being professional painter and potter for the last 20+ years
I have learned mind blowing cool tips and insights which makes me a person with ability to improvise and come up with creative ideas and solutions to make stunning and impeccable art pieces of all types which are adored by people across the globe on this website and other platform.