How To Glue Acrylic To Wood
Acrylic and wood are two different type of materials that are used for various purposes. Acrylic is a kind of plastic that is frequently made for developing clear surface areas. At the same time, wood is an all-natural material commonly used for furniture and construction. Gluing acrylic into wood might seem tough, but it can be done properly with the ideal method and materials. In this blog, we will discuss how to glue acrylic to wood, including the materials and steps.
Materials required:
- Acrylic sheets
- wood surface
- Sandpaper
- Acetone
- Masking tape
- Epoxy adhesive
- Clamps
- Razor blade
- Isopropyl alcohol
Steps for gluing acrylic to wood:
Step 1: Clean the surfaces
Before you start gluing acrylic to wood:
- Ensure the surface areas are clean without dust, dust, or particles.
- Use sandpaper to sand the wood surface area to create a harsh structure that will help the adhesive bond better.
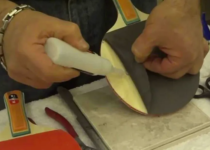
- Clean both the wood and acrylic surface areas using acetone and clean the fabric to eliminate any oil or residue.
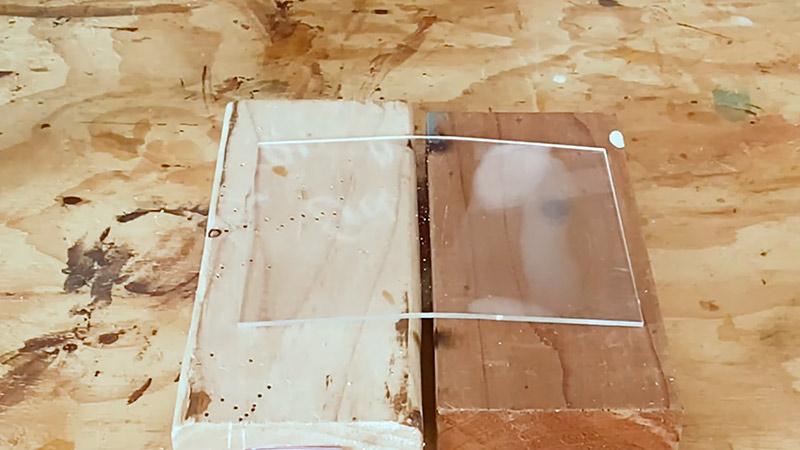
Step 2: Position the acrylic sheet
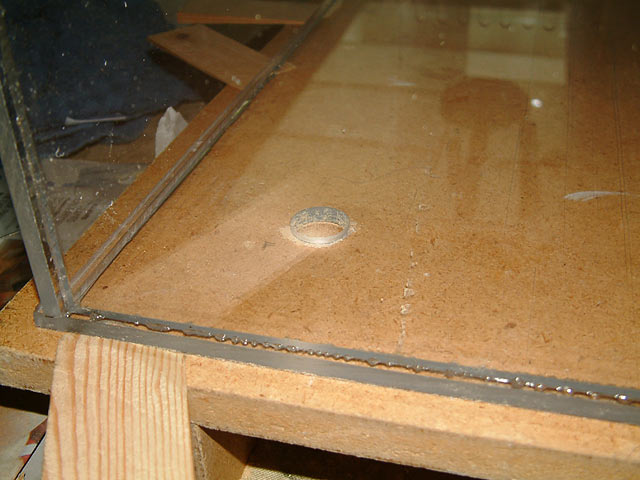
Place the acrylic sheet on the wood surface area and set it in your desired location. Use a covering-up tape to hold it while you work with the following step.
Step 3: Use the adhesive
Use a percentage of epoxy adhesive on the wood surface where the acrylic sheet will certainly be put. Be sure to use the glue evenly across the surface area. Use a razor blade to spread the adhesive uniformly across the surface.
Step 4: Put the acrylic sheet
Place the acrylic sheet onto the adhesive-covered wood surface. Ensure that it is lined up appropriately and in the proper placement. Apply light pressure to the acrylic sheet to ensure it is in contact with the adhesive.
Step 5: Secure with clamps
Use secures to hold the acrylic sheet in place while the adhesive dries. Ensure that the clamps are not also tight to prevent harming the acrylic sheet. Leave the clamps on for at the very least 24 hr to make sure that the adhesive has fully cured.
Step 6: Get rid of the masking tape
After the adhesive has dried, remove the covering-up tape from the acrylic sheet.
Step 7: Finishing touches
Use a razor blade to eliminate any excess adhesive that might have seeped out from the edges of the acrylic sheet. Clean the edges using isopropyl alcohol and clean the fabric to remove any deposits or fingerprints.
Generally, it is essential to remember that gluing acrylic to wood requires a careful interest in detail and persistence. Rushing with the process or using the incorrect materials can bring about a poor bond and potentially harm the materials. By taking your time, using suitable materials, and adhering to the steps meticulously, you can efficiently adhesive acrylic to wood for various applications.
Tips to keep in mind when gluing acrylic to wood
In addition to the steps and materials outlined above, there are a few other pointers to consider when gluing acrylic to wood. These consist of the following:
- Make sure to make use of adequate glue to guarantee a strong bond. Using inadequate adhesive can cause a weak bond and potentially cause the acrylic sheet to find loose in time.
- Avoid making use of excessive stress when protecting the clamps. Too much pressure can damage the acrylic sheet or trigger it to warp, compromising the bond.
- If you need to get rid of the acrylic sheet, use a heat gun to soften the sticky and carefully tear it away from the wood surface area.
Troubleshooting common concerns when gluing acrylic to wood
Even when you comply with all the suggested steps and make use of the proper materials, there may still be some problems that develop when gluing acrylic to wood. Here are some common issues and also how to fix them:
Irregular or incomplete bonding:
If the bond between the acrylic and wood is irregular or incomplete, it might result from insufficient adhesive or an uneven pressure circulation. To fix this concern, attempt using much more sticky and equally dispersing pressure across the whole surface utilizing clamps.
Bubbling or warping of the acrylic sheet:
If the acrylic sheet starts to bubble or warp throughout the gluing process, it may be because of excessive pressure from the clamps or using a solvent-based adhesive. To fix this concern, try decreasing the stress from the clamps or utilizing various adhesive that is much less likely to trigger bending.
Residue or staining on the acrylic sheet:
Suppose the acrylic sheet has residue or staining after gluing it to wood. In that case, it might be because of using an inappropriate cleaner or solvent throughout the cleansing process. To repair this concern, use a cleaner or solvent that is particularly developed for usage with acrylic materials.
Weak bond or separation:
Suppose the bond between the acrylic and also wood is weak, or the acrylic sheet starts to separate from the wood over time. In that case, it might be because of an inadequate quantity of sticky or a failure to cleanse the surface areas effectively before gluing. To repair this concern, try using more adhesive and thoroughly clean both surfaces before gluing.
Cracking or breaking of the acrylic sheet:
If the acrylic sheet cracks or breaks throughout the gluing procedure, it might be due to extreme pressure on the product. To prevent this concern, see to it the use of an appropriate adhesive and the use of stress equally throughout the whole surface area.
Incompatibility of materials:
Some sorts of acrylic and wood might not be compatible with specific adhesives, which can lead to a weak bond or splitting up with time. To avoid this issue, choose an adhesive that is suitable for both the acrylic and wood materials you are using.
Yellowing of the acrylic sheet:
Over time, acrylic might turn yellow due to exposure to UV radiation or other environmental factors. The use of certain kinds of adhesives or cleansers can worsen this. To avoid yellowing, use an adhesive and cleaner created explicitly for usage with acrylic materials, and keep the finished product in a cool, dry area far from direct sunshine.
By resolving these common concerns and making changes as essential, you can effectively glue acrylic to wood for various applications.
Conclusion
Gluing acrylic to wood might seem like a difficult task. However, it can be done properly with the best materials and methods just like gluing plastic to wood easily. Remember to cleanse the surfaces thoroughly, use the ideal adhesive, and use clamps to hold the acrylic sheet in place while the glue dries. Follow the steps detailed in this article for an effective result.
By adhering to these tips and the steps described above, you can efficiently glue acrylic to wood for various applications. Whether producing a personalized case or including a clear surface on a wooden tabletop, this method can help you accomplish the preferred outcomes.
Frequently Asked Questions
Can I use any type of adhesive to glue acrylic to wood?
It is advised to use epoxy glue because it has solid bonding homes and is specifically created for bonding acrylic to various other materials.
Do I require sanding the acrylic sheet before gluing it to the wood?
Sanding the acrylic sheet is optional before gluing it to the wood. Nonetheless, you should thoroughly clean the surface using acetone and a clean fabric to remove grease or deposit.
For how long does it take for the glue to dry out?
The drying out time for the adhesive will depend on the glue you use. Epoxy sticky usually takes about one day to cure totally.

Being associated with art and craft field since decades as a hobbyist and life long learner has given me an opportunity to learn many new things related to art, craft, paints and pottery which i am trying to share with your guys on this website. I have expertise of being professional painter and potter for the last 20+ years
I have learned mind blowing cool tips and insights which makes me a person with ability to improvise and come up with creative ideas and solutions to make stunning and impeccable art pieces of all types which are adored by people across the globe on this website and other platform.