Since today is Tuesday that must mean it is time for some more tape related fun. Once again my crafty time finds me in the nursery trying to add a touch of fun/color for our little girl to enjoy. This little DIY is super fast and is totally temporary so later if you are over the colors you picked or your little one gets too big to think it’s cool just peel it off and you are back to a blank door!
Materials:
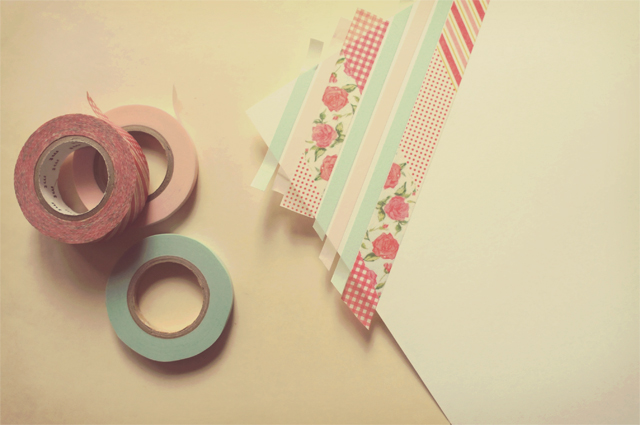
Washi tape
Scissors
A door
Instructions:
1. Clean your door (I just wiped mine with a microfiber cloth quickly).
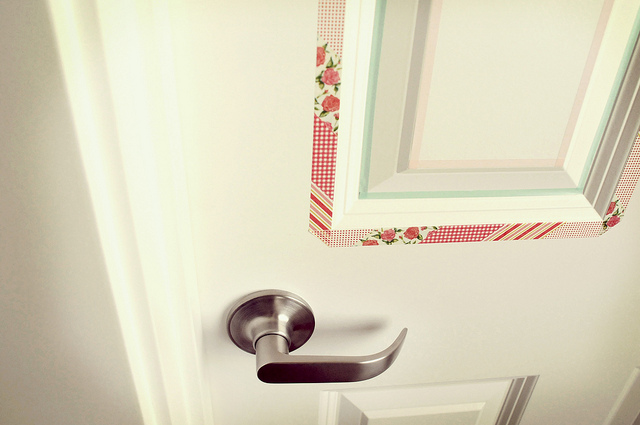
2. Peel off a section of tape and follow along the details of your door. Be sure to overlap your tape at the edges as you go.
3. After you have all your tape down go back to each edge and trim the extra to square the corners.
4. Peel up the corners of larger tape and cut at an angle (this is optional but it adds a little fun).
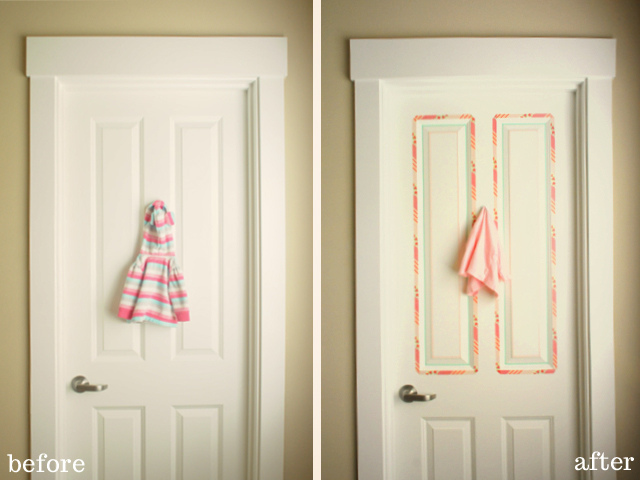
5. Done! Enjoy your more colorful door.
6. you can also put a hanger on back of your door to hang any useful daily items like beach bags, polybags, kids clothes to increase the utility if your door and then cover the hanger with washi tape to make it look good.
PS If I was decorating and kids weren’t a concern then I would do the bottom of the doors too… but seeing as how I didn’t want my little one peeling up/snacking on the decor I decided to keep my tape only on the top half of the door.
if you kids like colors then you can also paint the door with some kids friendly acrylic colors to make it more appealing to them
To match the door decor you can also cover your light switch cover with washi tape as shared below
My favorite projects around the house are always ones that are fast, easy and have a short materials list and this little washi tape light switch cover is no exception. Every time I turn on the light now in our baby’s nursery I smile. The step by step is super easy too!
Instructions:
1. Unscrew your existing light switch cover (or if you are feeling lazy have your significant other do it for you while you do something more fun like picking out your washi tape colors)
2. Wipe off your cover, front and back, of any dust/dirt
3. Slap on your washi tape, leaving enough to wrap around the edges and onto the back
4. Trim out the screw holes with an x-acto knife
5. Trim out the hole for the light switch (I cut an x and then folded the tape flaps in)
6. Screw your light plate switch back on
Word of warning… be careful when screwing the cover back on because if your tape isn’t trimmed well the screws can tug it and wrinkle it a bit if you over tighten. If that happens, just pop your cover back off and replace the piece of messed up tape and you are back in business!
Bonus for our loyal readers
if you are still reading and following along then I think by now you must have found liking in making different unique craft items and home decoration using washi tape so here i have one more Diy washi tape art shared below for our regular readers to follow along, make it and have a great time doing it.
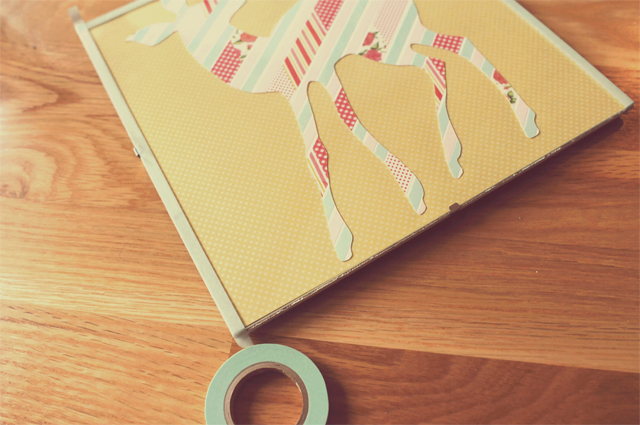
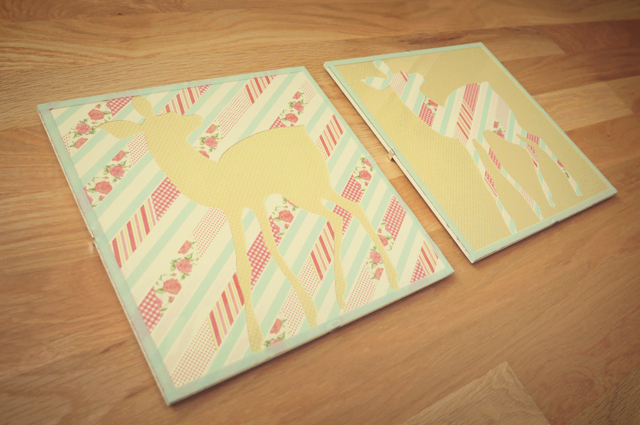
Now that our little one is almost four months old I have been thinking I better finish decorating her nursery before she turns into a toddler. So this weekend I pulled out my washi tape and a few random frames I had sitting around and created two cute little washi tape deer for the nursery. This DIY art is super simple and if you are like me you probably have two thirds of the materials needed in your home already.
Materials:
Washi tape
2 frames (I used the clips ikea frames)
White cardstock paper (cut to fit your frames)
Decorative paper (cut to fit your frames)
X-acto knife
A pencil
Scissors (optional)
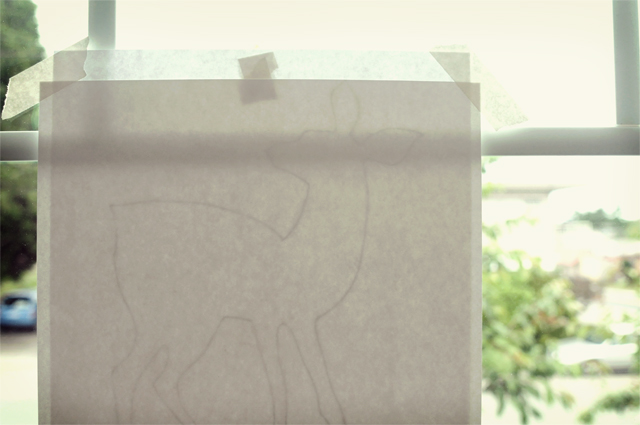
1. Trace the reverse of your silhouette of choice onto the white cardstock
2. Flip your cardstock over so the pencil side is down
3. Lay your tape across the paper to make your pattern (be sure to cover the entire paper and let the extra hang over the edge)
4. Flip the paper over and use your x-acto to trim the extra tape from the edges so the tape is flush to the edge of the paper
5. Trim out your silhouette following the pencil tracing you made earlier
6. Admire your awesome cutting skills
7. Layer the cardstock over the decorative paper (optional: secure with a little glue to keep from shifting in frames)
8. Place in the frames and enjoy!
If you are using glass frames with no border, like mine, you can add a washi tape border by placing a strip of tape along each edge of the glass and folding it over at the ends. Super simple but I really loved that it made the frames look less “off the shelf”.
let us know in comments section below how did your door came out to be after applying vibrant color washi tape on it in different and unique patterns for colorful and joyful homes.
Being associated with art and craft field since decades as a hobbyist and life long learner has given me an opportunity to learn many new things related to art, craft, paints and pottery which i am trying to share with your guys on this website. I have expertise of being professional painter and potter for the last 20+ years
I have learned mind blowing cool tips and insights which makes me a person with ability to improvise and come up with creative ideas and solutions to make stunning and impeccable art pieces of all types which are adored by people across the globe on this website and other platform.