How long can primer sit before painting
How long before painting may primer be left on? When painting a building after the primer has been applied, painters, homeowners, and other do-it-yourselfers often ask this question.
Before painting, priming is a crucial process that, if completed correctly, can increase your chances of producing a stunning and durable finish.
Understanding drying time is one of the most crucial primer-related concepts to know. This element controls the general condition of the priming coat, which affects the appearance and durability of the paint finish.
Before the primer is entirely dry, painting over it results in adhesion problems like paint bubbles and flaking. The primer will lose its effectiveness if you wait too long, and you will have to repaint the surface.
When is painting over priming acceptable? How long before painting may primer be left on?
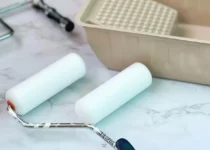
What Is Primer?
Primers are often employed as the initial layer on a surface before the topcoat is applied. Primers are created to obtain the highest amount of adhesion feasible as a consequence. Your paintwork will last longer if it adheres better.
Primers can act as a barrier to stop paint from penetrating porous surfaces. The primer may be used as a last option to prevent wall stains. For surfaces that flake after a single application, this is necessary.
Before painting, priming the surface has several benefits, so selecting the most acceptable primer and applying it at the right time is crucial.
In certain circumstances, a primer may reduce the number of layers needed to get good colour coverage. It fortifies the bond between the topcoat and the surface, making the paint more durable. Other times, priming is not even required.
Best Time To Use Primer
When do you think this is the best primer to be used before painting? Sometimes the necessity for priming is inescapable. You can set yourself up for future issues if you neglect this step.
Let’s glance at the most common priming situations before delving further into the many kinds of priming situations.
Gloss Paint And Oil Paint
If the paint is oil-based, sanding and priming are necessary. You’ll need a primer to give the paint something to “bite” into.
It’s good news that oil-based wall paints are becoming less common. Since the finish will be applied on top of latex paint, there is no need for a primer before applying the finish. A high-gloss paint job requires more skill and attention to detail than the typical home improvement project. Instead of attempting this project independently, you should hire a professional painter.
Even semi-gloss paint is a challenge for most homeowners. Oil-based paints and primers are difficult to remove from surfaces.
Walls With Stains
Stains, extensive patching, drywall repairs, or damage to interior walls necessitate spot priming. Stained interior walls are frequently the result of environmental factors such as fire, smoke, and mould.
Kilz or Zinsser oil-based primers can be used to remove stains from interior walls. Sealing severely discoloured walls is possible with solvent-based primers. Drywall damaged by fire or water should not be treated with stain-blockers. When your basement is flooded, priming can only do so much. If the damage is moderate or extensive, the drywall must be replaced.
Checkout: can you use your interior paint outside for good quality finishes or not, find out in our detailed guide.
New Drywall
Apply primer to newly installed drywall and skim-coated surfaces. Seal the porous surface with latex-based drywall primer. The use of water-based drywall primers is increasing. With that said, the majority of water-based primers are VOC-free. Priming a surface with low-VOC primers reduces paint fumes and improves indoor air quality.
Mildew Or Mold
To rid the wall of mould and mildew, a combination of bleach and water must be used. Apply water and wait for it to dry before continuing.
After a bit of sanding, a mould-resistant oil-based primer should be applied. Before applying the final coat, this step is necessary. Any leftover mould spores are eliminated, and future mould development is prevented by using an oil or solvent-based primer.
A mould-resistant finish like satin or semi-gloss is ideal for paint. Choosing the right colour for your bathroom’s walls may be tricky, so you may want to consult a paint guide. A more incredible sheen or gloss on a surface means it will be more resistant to water damage. As a result, bathrooms and mudrooms, prone to dampness, should have been painted with a higher gloss.
Stucco Patch
Priming your stucco home is a common concern, and it’s understandable. Having painted your stucco, you don’t need a primer. Gloss and oil-based paints have the same properties. Priming is necessary unless you are painting over an existing section of stucco. Use priming for mortar if at all feasible.
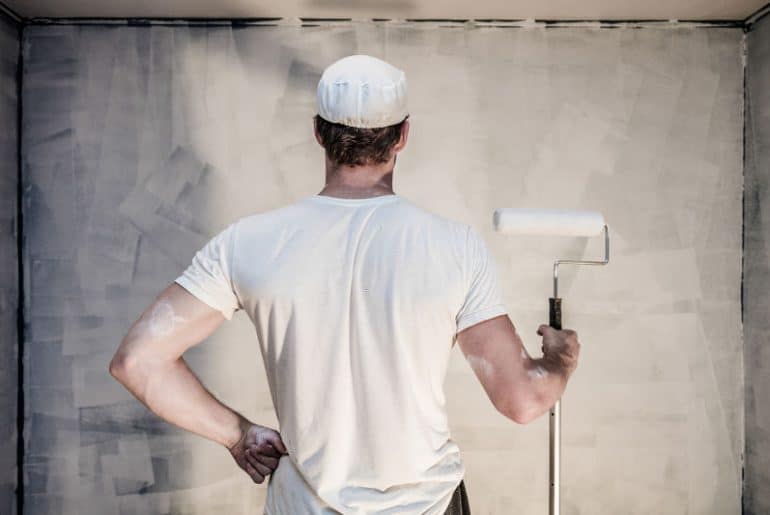
How Long Can Primer Sit Before Painting
Before painting over the primer, let it cure for at least 24 hours. Before painting, all primers, whether they include water or latex, must be allowed to dry for at least 30 minutes. The drying period might vary from 30 minutes to four hours according to the amount of primer used. The adhesive quality will diminish if you don’t paint over the primer as soon as feasible.

If the paint doesn’t adhere to the surface, it will have an uneven appearance. There are around three primers: water-based, oil-based, and latex-based. The drying period of primers varies, as does the time you may paint with them before they degrade. The base influences a primer’s drying time and the time needed to paint over it.
Latex
Using a latex primer is easy, affordable, and dries rapidly. It might take up to an hour for a regular latex primer to dry completely. Some factors, such as the brand and atmosphere, may impact drying timeframes. These primers may be used on various surfaces, from wood to concrete, and they are versatile.
Paint may be applied over a latex-based primer for up to 21 days before it loses efficacy. 7 to 14 days before the intended application date, a latex-based primer should be reapplied for safety.
Oil
Painting over oil-based primers is almost impossible because of the long curing time required. Before it’s too late, an oil-based primer must be applied to take advantage of this little window of opportunity.
Temperature, relative humidity, and coat thickness all impact the drying time of oil-based primers. After using an oil-based primer, painting porous surfaces is much simpler. Instead of a water-based primer, an oil-based primer may be employed. Before painting over an oil-based primer, let it dry for at least eight to twenty-four hours.
Water
The drying time of a water-based primer ranges from 30 minutes to an hour. A water-based primer will take another 2 to 3 hours to dry thoroughly after application.
Several experts advocate painting over a water-based primer within three days of using it.
It is vital to react swiftly to water-based primers, which may be painted over in a week. Water-based primers’ drying and curing times are identical to latex-based primers.
Use a water-based primer and paint over it within 1-3 days to ensure that the first coat of paint adheres effectively to the surface.
Self-Priming Paint
It is a blend of primer and paint. You save a lot of time and work because of the product’s dual purpose. It takes two hours on average for primers to dry to the touch. However, some formulations dry quickly enough for a second coat of paint in only one hour.
Shellac Primer
Use shellac primers first if a stain is hard to remove. If the surface to be painted is damaged in any way, these primers will still function. Additionally, they may be able to prevent smells from developing in the first place. On the other side, these primers have a rapid drying time. It takes roughly an hour for the first coat of paint to dry.
Know the difference between interior and exterior paint on our detailed guide for picking the right paint for best paint job results.
Factors That Affect Primer’s Time To Sit
The time it takes for a primer to dry varies depending on various circumstances, such as the kind of primer and the weather. Due to the weather, the primer may take longer or shorter to dry. Consider the following before painting your house.

Weather Conditions
Because the region’s ideal temperature and high humidity speed up the drying process, the primer dries in less time. Therefore, many manufacturers stress the need to keep a lower temperature than is required to prevent product damage. Some primers need temperatures between 40 and 80 degrees Fahrenheit.
In addition, the humidity level should not surpass 85 per cent at any point in time. The primer will take a long time to dry in a warm environment. Your primer may thicken if the temperature in your room is too low. One example is oil-based primers.
Primer, such as latex paint, might freeze as well. The right temperature for priming and painting must be maintained at all times. This may be used in various settings, not only in the home. Even if you prepare and paint an outdoor surface, the humidity and temperature must be just proper, or your work will be ruined. The lack of control over the weather is negative. Consequently, you’ll need to keep an eye on the weather.
Surface
The surface has an impact on the drying time of the primer that has been applied. Depending on the surface, more time may be required to clean specific surfaces than others.
A minimum of two thin coats of primer are required to completely prime stained wood, new drywall, or a darker surface.
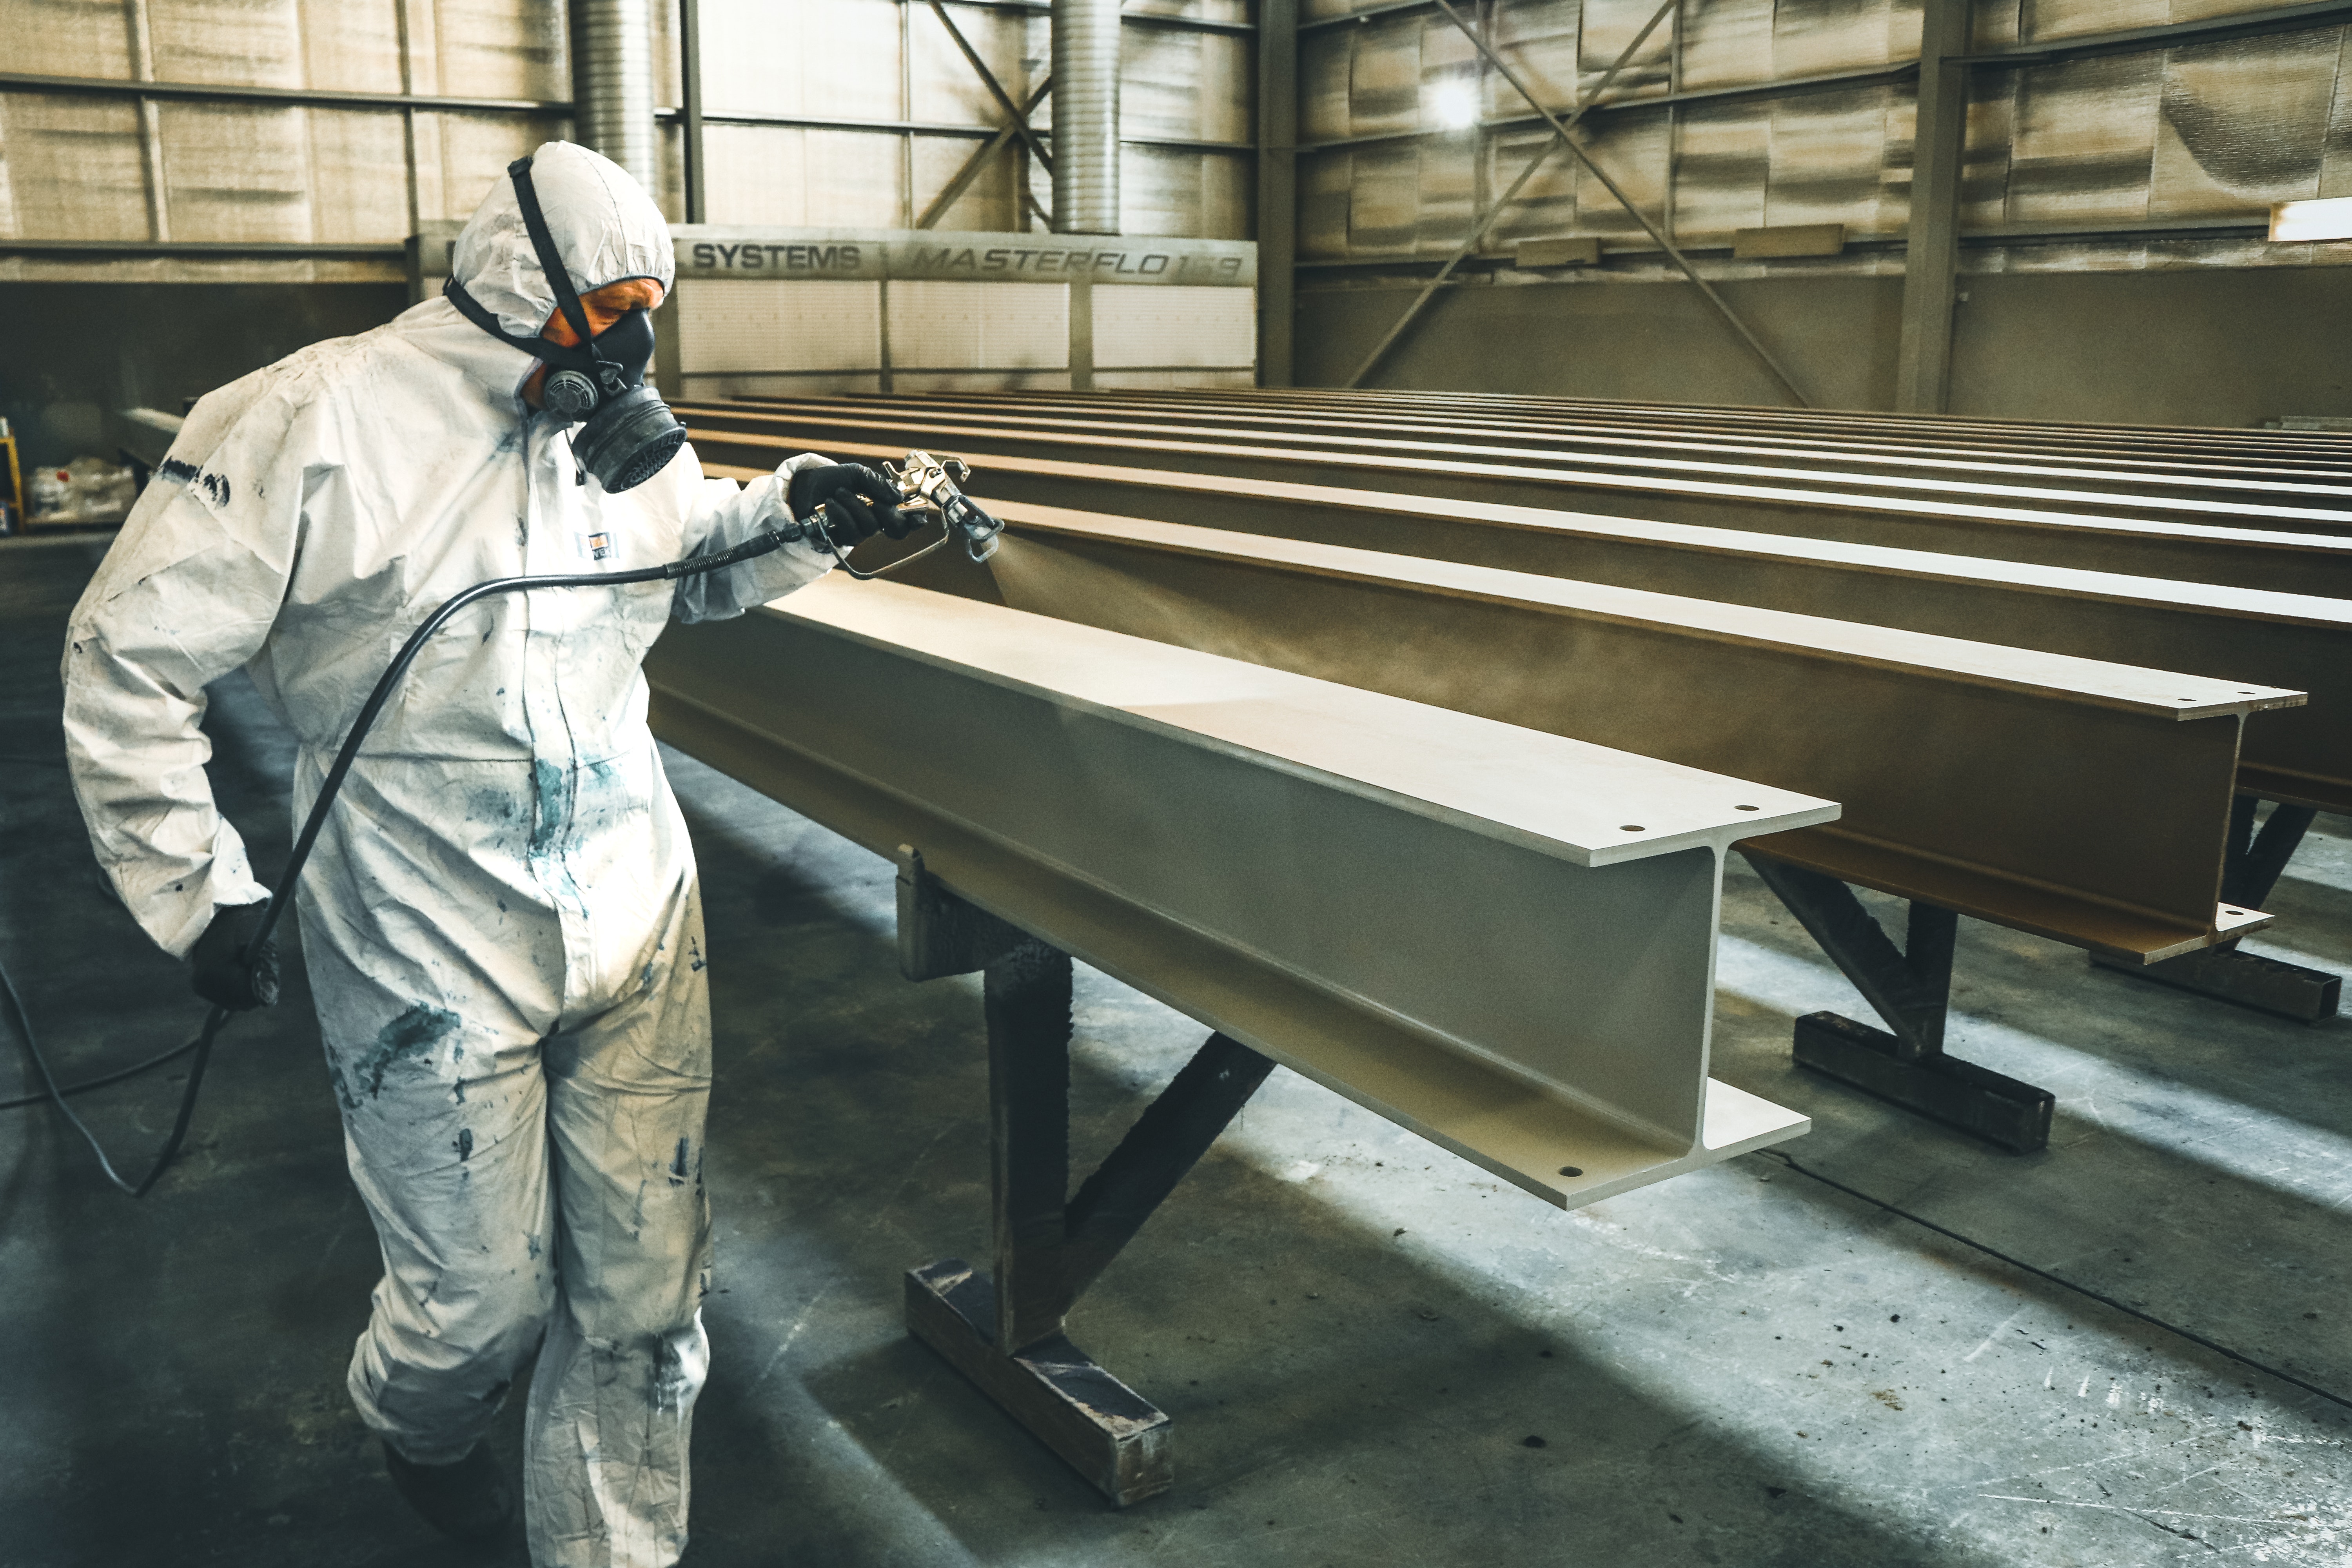
The drying time for priming metal may take up to four hours, making the process much more time-consuming, but it is must for increasing the durability of metal item like rusty roofs and galvanized metal for better final finishes.
Application
Drying time may be affected by the method of primer and paint application. Spraying a thinned primer with a spray gun is more efficient. Spray painting may speed up the drying by applying priming in small amounts at a time.
Dust And Debris
Some particles of dust and other debris may sneak into the primer as it dries up. Paint should be applied right after the surface has been primed.
To avoid a buildup of dust and debris, wait until the primer has completely dried before applying any finishing coats. Surfaces coated with primer develop a distinct texture due to dust and other particles adhering.
Start by wiping your work area with a moist towel to remove loose paint or dust. You must make sure that nothing has been left behind, even sand.
Ventilation
To speed up the drying period of the primer, enough airflow is required. Open all of your windows and doors to aid the process. Primers based on shellac or oil are the most likely candidates for this. Providing enough ventilation will shorten the length of the event.
How To Make Primer Dry Fast
You can do a few things to hasten the drying period of your primer, and they may surprise you. The following tips may come in helpful if you don’t have a lot of time to spare while waiting for the primer to dry.
Hairdryer
To hasten the primer’s drying period, a hairdryer may be used. Softly blow on the surface after priming. Hairdryers should be used with the cold-air setting instead of the heat mode. Keep at least one foot away from the device while it is not in use.
Avoid Thick Coats
If you want to fasten the drying process, don’t apply too many coats of primer. Drying thick coats may be a challenge. To speed up the drying time, use a small coat of primer.
Dehumidifier
There may be a problem with the humidity level in the space. A day with low humidity is ideal for priming, but you may also expedite the process. A dehumidifier might help you reach this aim. Primer dries faster in the house because of the reduced relative humidity.
Special Primer
To speed up the drying process, you might use a quick-drying primer. Take advantage of self-priming paint if you want to speed up the drying process of your painting. In place of two-in-one primers, latex is an excellent choice if you want to use one primer.
Conclusion
Please let us know if our advice on how long to leave priming before painting was useful. On a wall, anybody can be creative. Even though many people are unaware of this, preparation of the walls is essential before painting.
When painting, primer smoothes the surface and improves the colour of the real paint. The better the primer, the longer the paint will last. Before painting, make sure the priming is completely dry. Do not, however, sit for longer than the recommended time. It’s possible to get a brighter, cleaner, and more dazzling wall finish if you follow this guideline.
FAQ
-
Is it possible to prime and paint too long?
It’s common for latex primers to dry in under an hour. The paint must be allowed to dry for at least three to four hours before it is applied. On the other hand, an oil-based primer will need more time to dry. Before using a second coat, let it cure for at least 24 hours.
-
What is the lifespan of primer paint?
Things that haven’t been opened are likely to remain useful even after they’ve been opened. The shelf life of latex and water-based acrylic paints is ten years, whereas the shelf life of alkyd and oil-based paints is 15 years.
-
Is it OK to re-use an old primer?
For another job, you may use the old paint as primer again. Using brighter colours with lighter paints is preferable to using deeper colours with darker paints. To prepare enough primer for your project, mix-matching the paint colours together. you need to know does the paint dry lighter or darker after primer so that you get the desired results form the final paint coat.
-
How many applications of primer will I need?
Apply two to three coats of primer and cover any existing colours, mainly if they are red, orange, or an odd, out-of-date hue, to guarantee a strong binding between the new paint and the wall. Two coats of primer are typically required for most painting projects. also read about using base paint of white color without tint to get more information regarding paint color and primer selection for different purposes and your final color requirement for the said rooms.

Being associated with art and craft field since decades as a hobbyist and life long learner has given me an opportunity to learn many new things related to art, craft, paints and pottery which i am trying to share with your guys on this website. I have expertise of being professional painter and potter for the last 20+ years
I have learned mind blowing cool tips and insights which makes me a person with ability to improvise and come up with creative ideas and solutions to make stunning and impeccable art pieces of all types which are adored by people across the globe on this website and other platform.